6.3.2. Creating a New Course in Studio#
This topic describes how to use Studio to create and set up a course.
To create and run a course, you can either create an entirely new course in Studio, or you can re-run an existing course. For more information about re- running a course, see Re-running a Course.
You can also export and import courses as XML files. You can do this when you need to back up a course or edit the course in XML.
6.3.2.1. Create a Course#
To create a course, follow these steps.
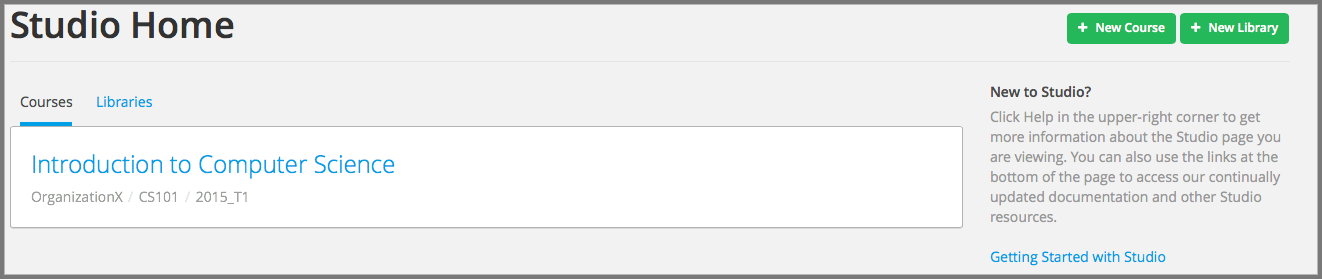
Sign in to Studio.
Select New Course.
Enter the following information about your course.
Important
The values that you enter for the organization, course number, and course run cannot be edited after you create your course.
For Course Name, enter the title of your course. For example, the name might be “Sets, Maps, and Symmetry Groups”. Use title capitalization for the course title, and normal spacing and punctuation.
For Organization, you enter the identifier for your organization. Do not include spaces or special characters.
For Course Number, you enter both a subject abbreviation and a number. For example, for public health course number 207, enter
PH207. For math course 101x, enterMath101x. Do not include spaces or special characters in the course number.Note
If your course will be public, be sure to include the “x”. If it is exclusively an on campus offering, do not include the “x”.
For Course Run, you enter the term in which your course will run. For example, enter 2014SOND or T2_2014. Do not include spaces or special characters.
The value that you enter for the run does not affect the course start date that you define for the course. For more information, see Scheduling a Course Run.
The organization, course number, and course run values that you enter are used to create the URL for your course. Because URLs do not have an unlimited length, the total number of characters that you enter for these values must be 65 or fewer.
Select Create.
The Course Outline page opens. You can start developing course content. For more information, see Getting Started with Course Content Development.
6.3.2.2. Edit a Course#
After you create a course, the course opens in Studio automatically and you can begin editing. Your next steps might include adding other course team members, setting the course start and end dates, or developing the course outline.
When you return to Studio later, your My Courses dashboard page lists the courses that you created as well as any courses for which you have course team privileges.
Note
After the end date for a course has passed, the course moves to the Archived Courses tab on the Studio dashboard. If the course that you want to edit is not visible on the Courses tab, look for the course on the Archived Courses tab.
To edit a course, select the course name. The Studio Course Outline page appears.
6.3.2.3. Change the Course Title or Number#
The course title and number that you specify when you create your course become part of the course URL. The course URL cannot be changed. However, you can change the way that your course title and number appear in Studio and the LMS.
6.3.2.3.1. Change the Course Title#
To change the way that your course title appears in Studio and the LMS, follow these steps.
Note
EdX does not recommended that you do this if your course is live.
Open the course in Studio.
On the Settings menu, select Advanced Settings.
In the Course Display Name field, enter the title that you want.
Select Save.
In Studio and the LMS, your course title changes to the value that you specify in the Course Display Name field. The URL for your course does not change.
6.3.2.3.2. Change the Course Number#
To change the way that your course number appears in Studio and the LMS, follow these steps.
Note
EdX does not recommended that you do this if your course is live.
Open the course in Studio.
On the Settings menu, select Advanced Settings.
In the Course Number Display String field, enter the number that you want.
Select Save.
In Studio and the LMS, your course number changes to the value that you specify in the Course Number Display String field. The URL for your course does not change.
6.3.2.4. Add Course Metadata#
To make certain information about your course available to entities such as customer relationship management (CRM) software, a marketing site, or other external systems, follow these steps.
Create a JSON dictionary that contains the metadata that you want to add.
In Studio, open your course, and then select Advanced Settings on the Settings menu.
In the Other Course Settings field, paste your JSON dictionary.
In case you can’t find the Other Course Settings field in
the Advanced Settings, set ENABLE_OTHER_COURSE_SETTINGS to true
under FEATURES in /edx/etc/studio.yml and restart Studio.